
ConnectorX Animate
SKU 00002
Overview
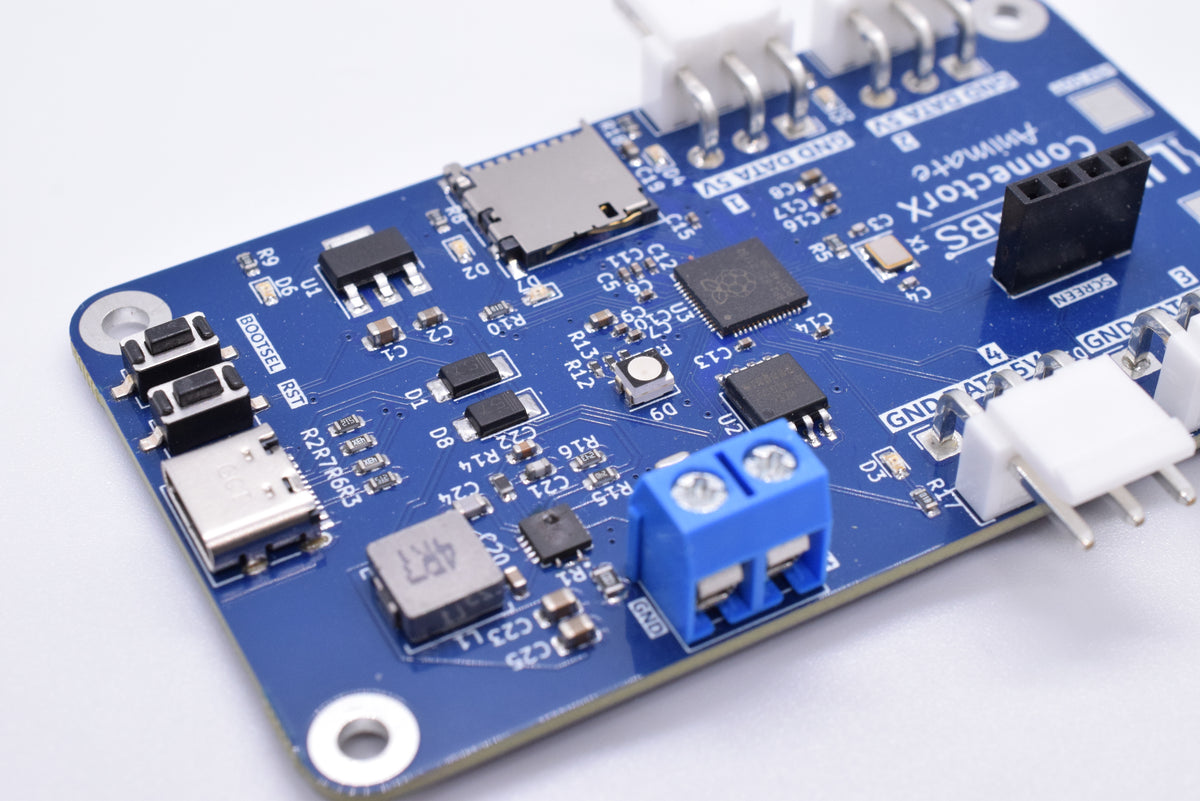
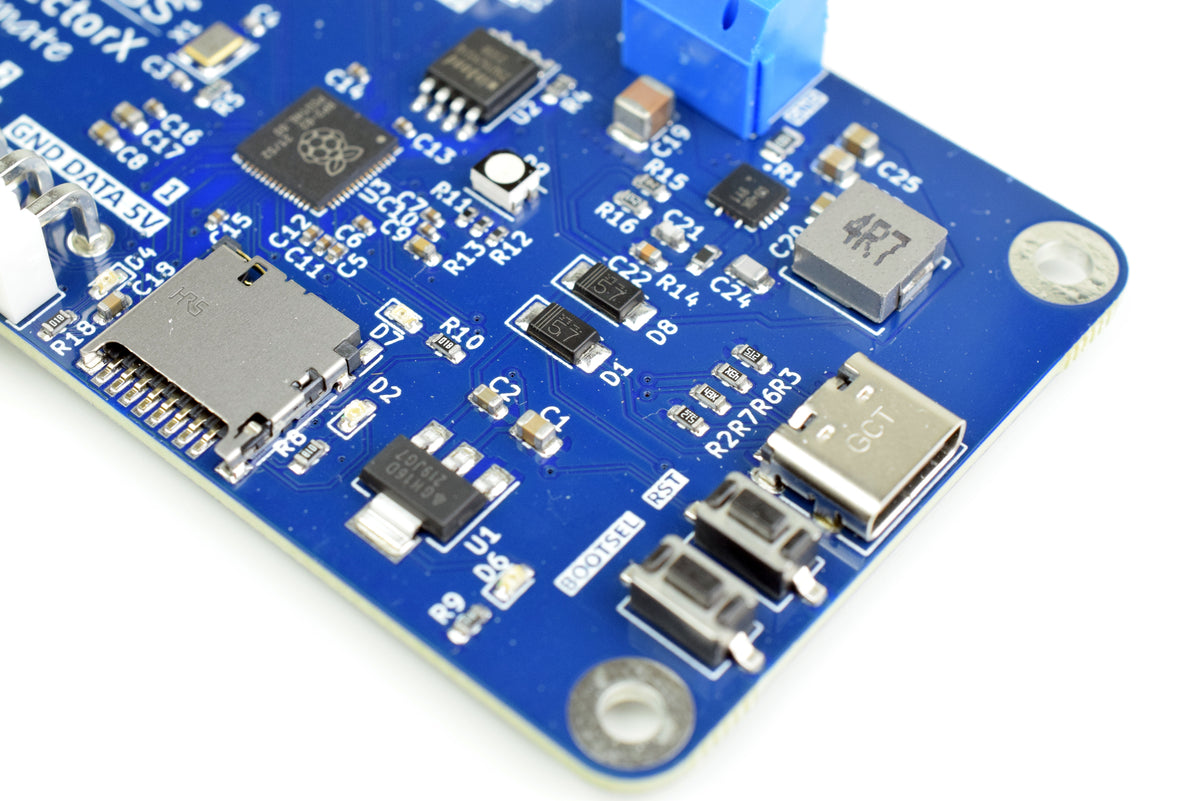
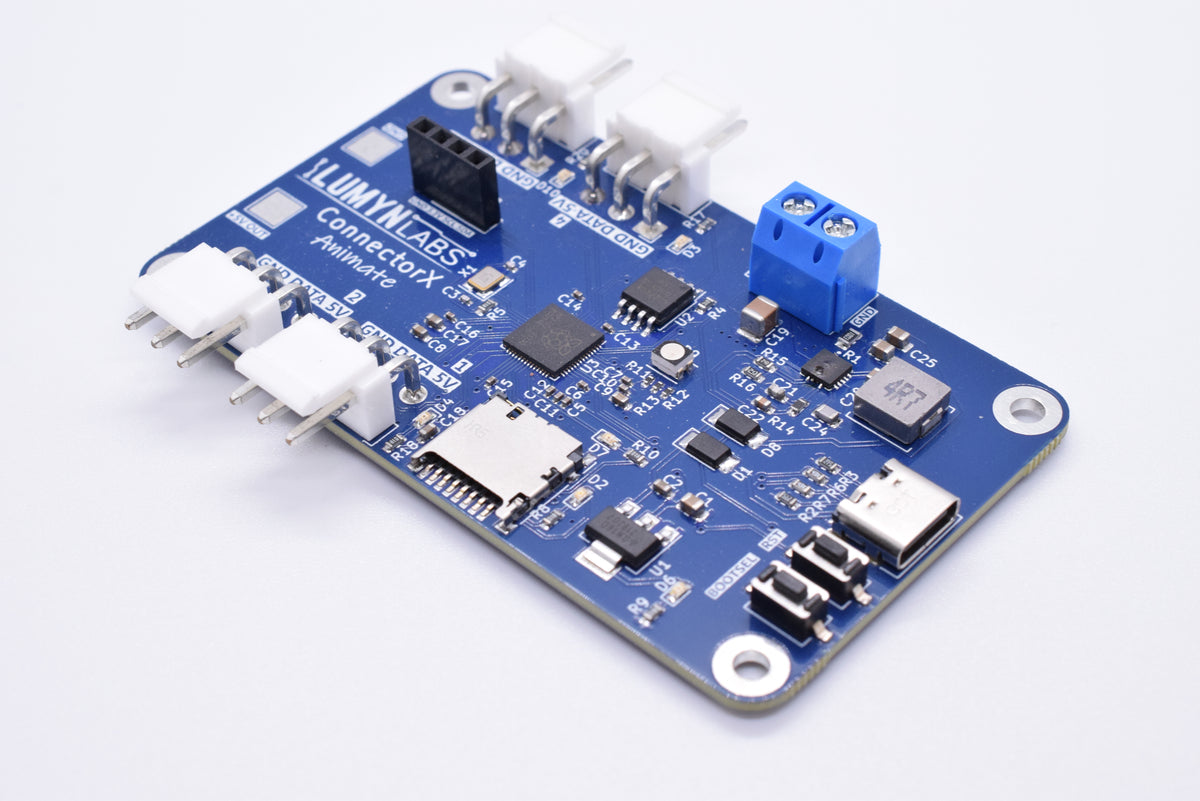
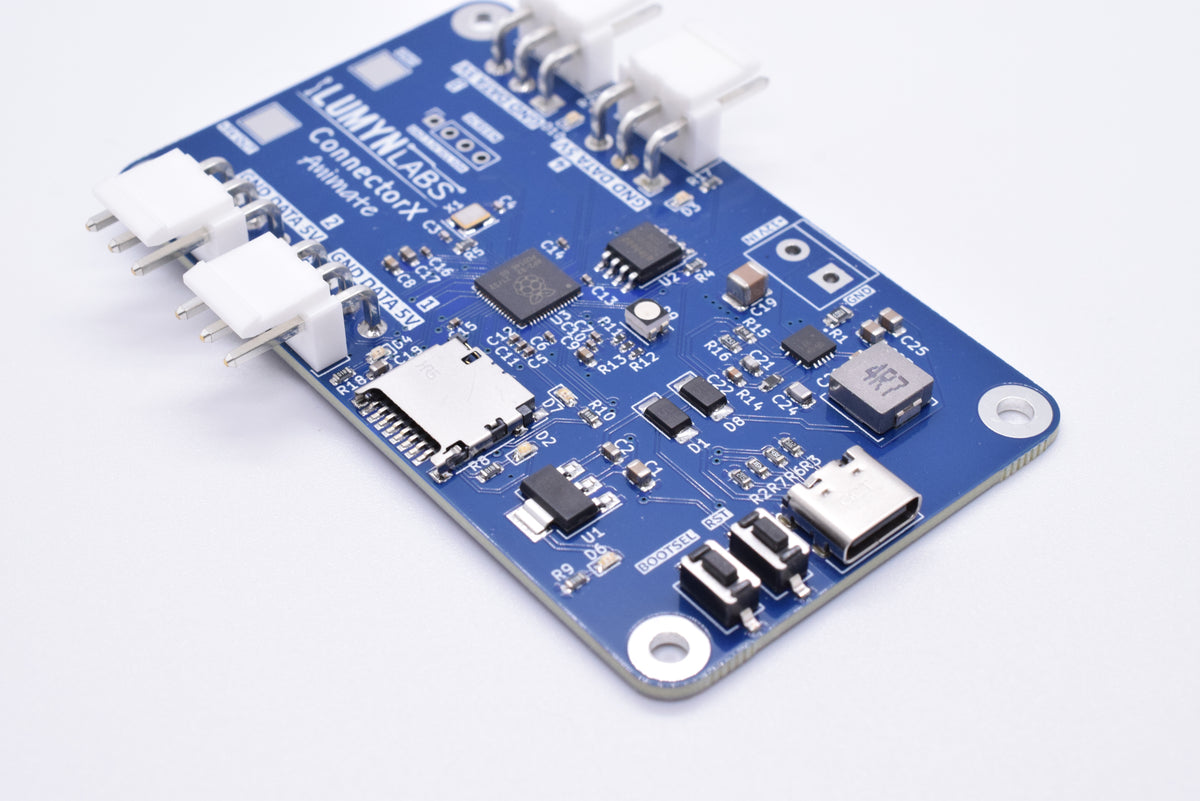
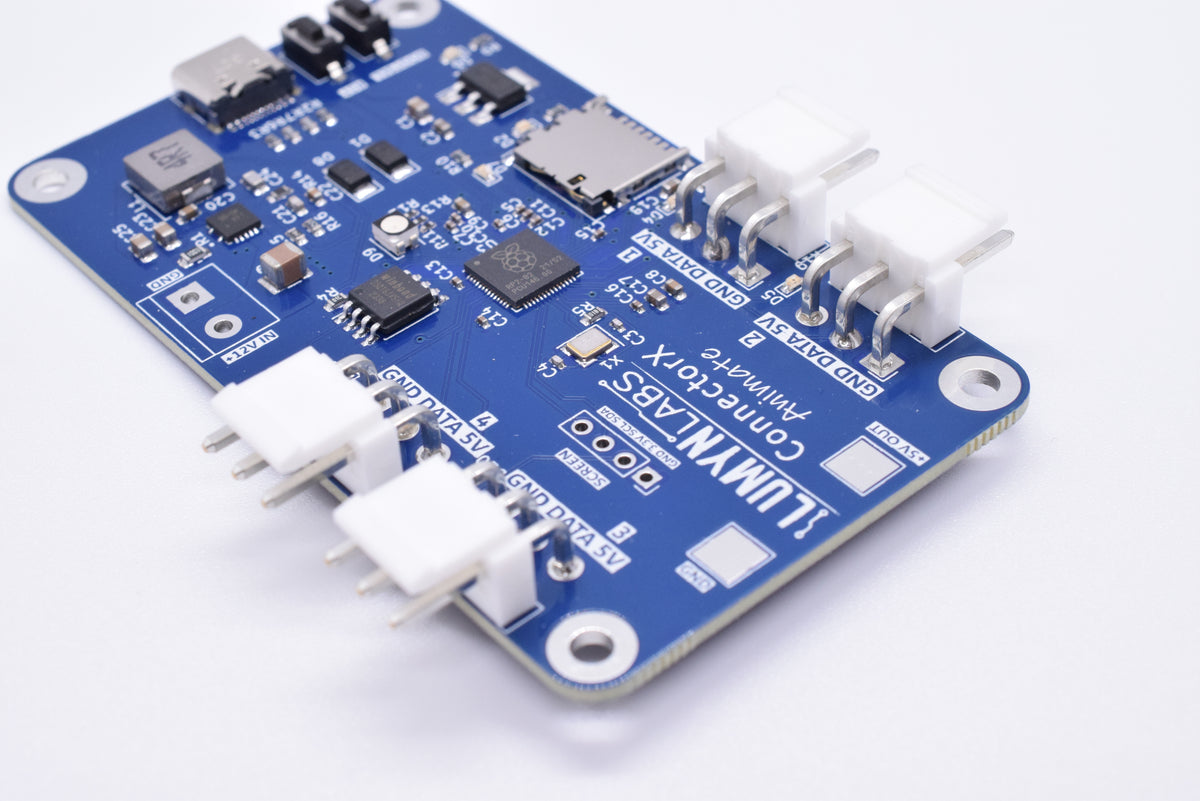
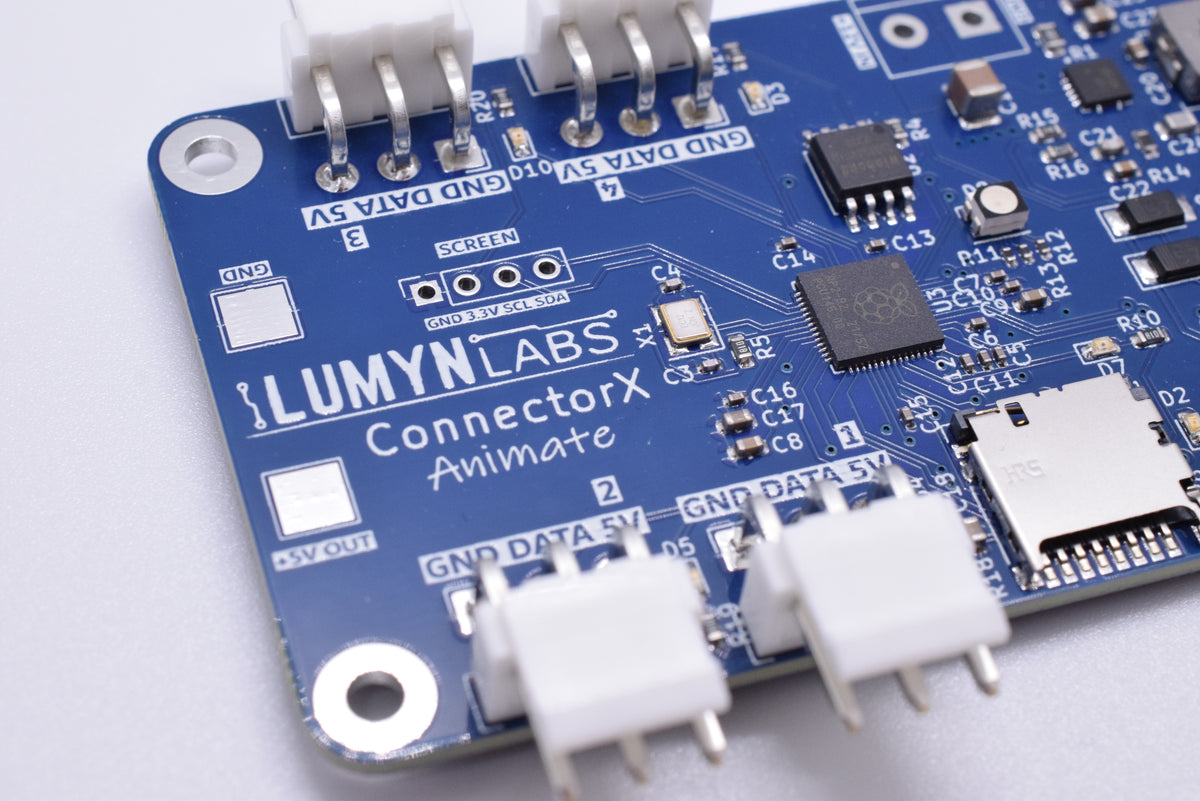
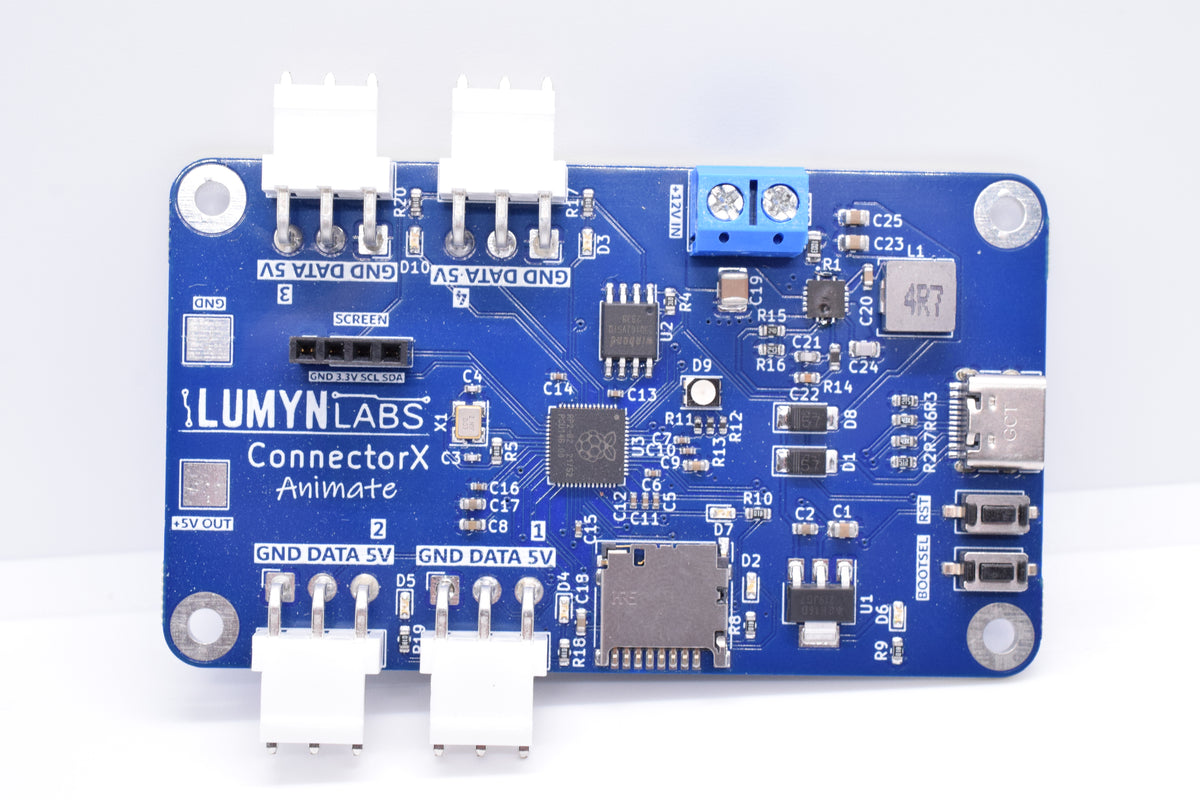
ConnectorX Animate is all about LEDs! With a total of four channels and a built-in power conversion circuit, it can handle hundreds of LEDs- whether it's strips or matrices.
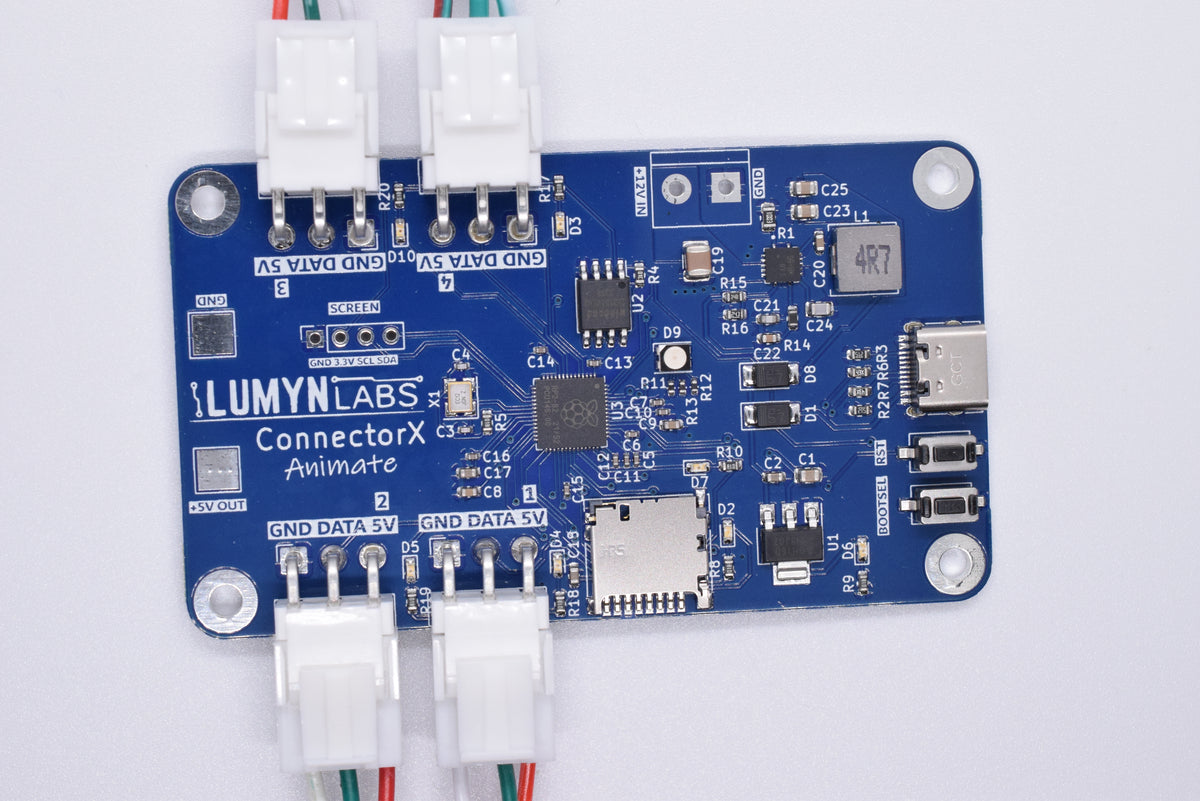
- Four LED channels
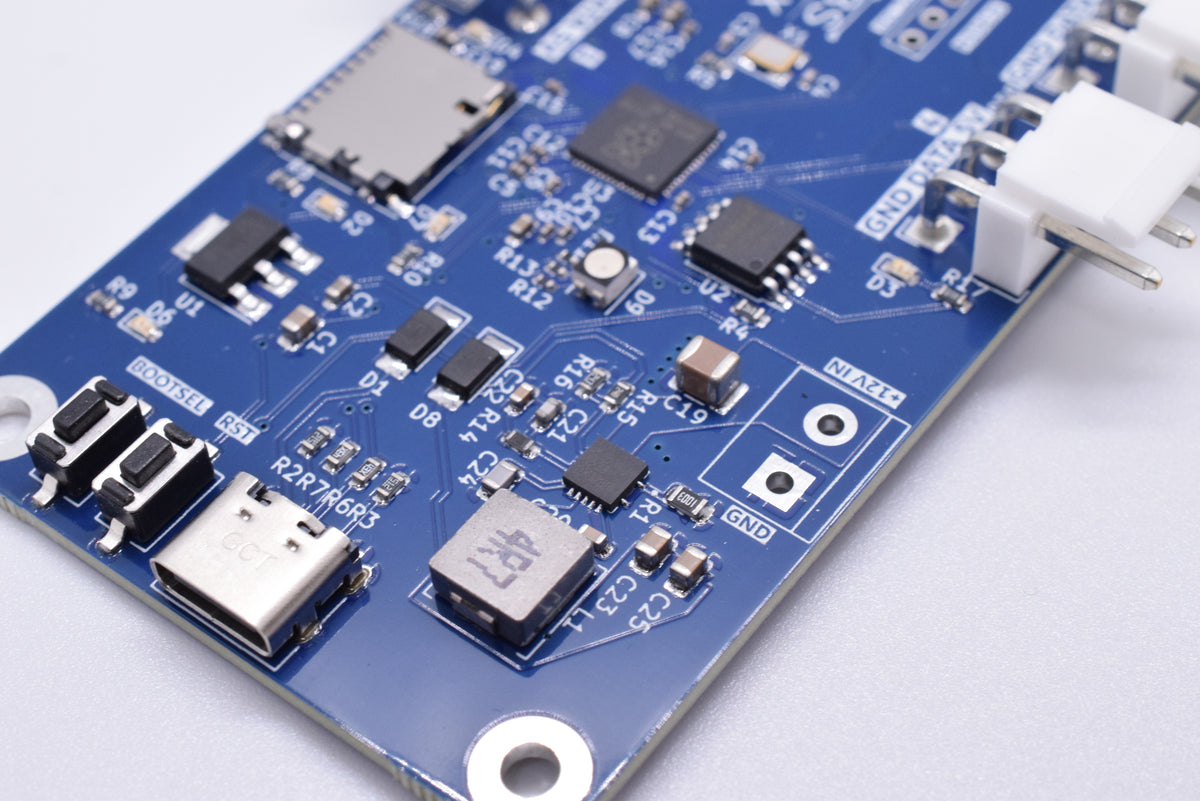
- 6-16V input to 5V @6A output
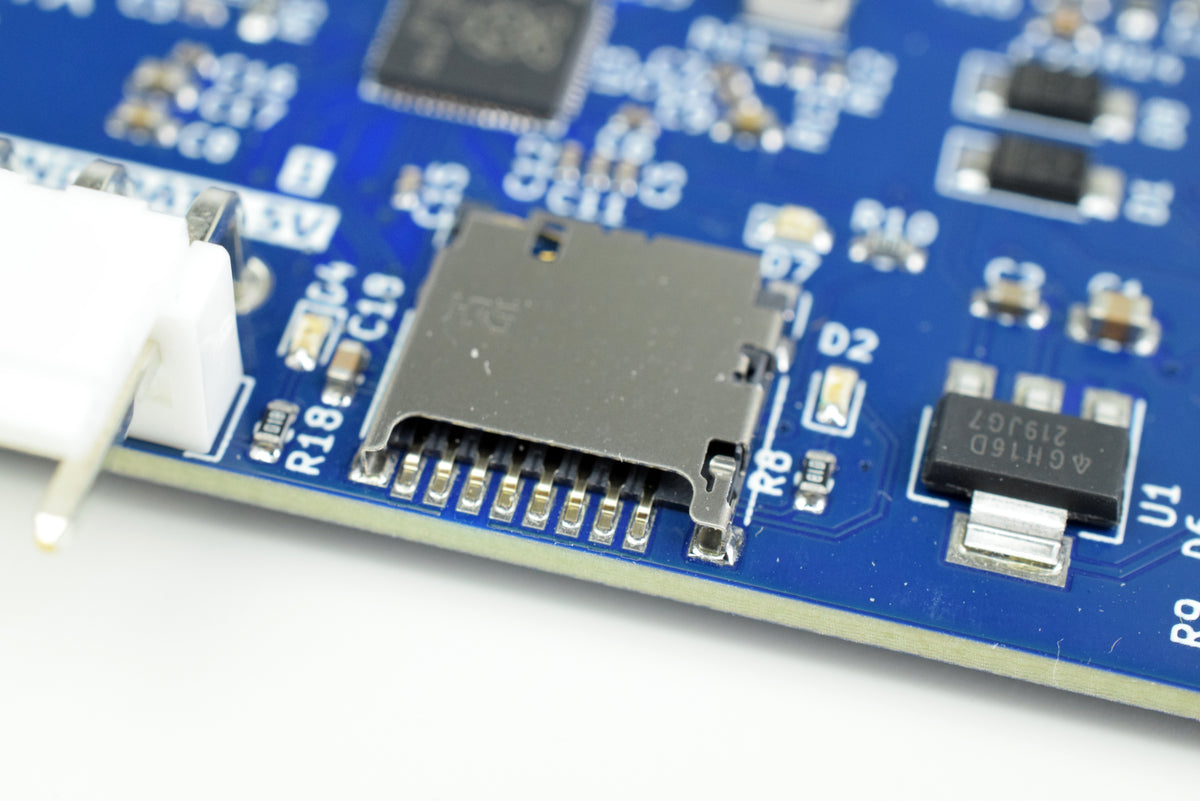
- SD card slot
- Screen connector
Four channels, up to 1,280 LEDs
Four LED channels
Run bumper strips, a matrix sign, underglow, and accent lighting from one board. Each channel handles up to 320 WS2812B LEDs; the onboard regulator auto-dims when your total load gets heavy.
Lumyn Studio in Chrome or Edge
Plug in over USB, open Studio, and set up channels, zones, groups, and sequences without writing code. Use the LED Commander to test your animations before adding ConnectorX to your project.
26 firmware animations
Chase, Fire, Plasma, Confetti, and 22 more animations make it easy to add lighting effects without writing any code. Chain them into multi-step sequences in Studio with per-step color, speed, and direction.
Matrix image sequences
Import any GIF into Lumyn Studio, annotate with shapes, text, and drawings, and edit the animation frame by frame. Then export to the exact resolution of your LED matrix for playback.
WPILib vendordep and SimGUI
Our WPILib vendordep makes FRC integration a breeze. Install it from VS Code and control ConnectorX with a simple, easy to understand API for animations, image sequences, matrix text, and modules.
Configuration export
Export config.json from Lumyn Studio and copy it to the root of a FAT32 microSD card. If your setup includes image sequences, export a ZIP and copy the included folders to the card too.
Zones, groups, and sequences
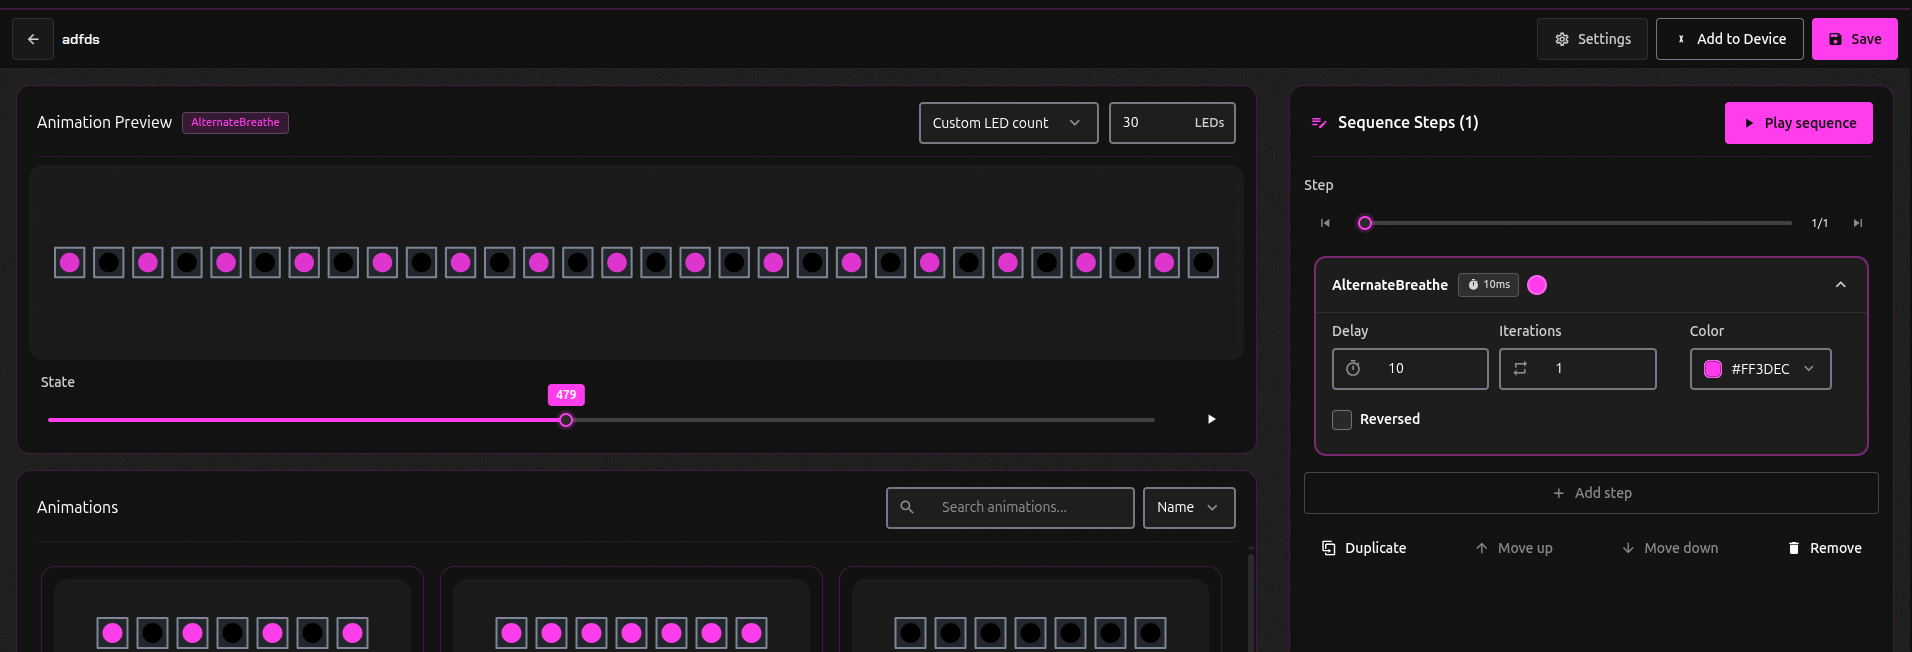
Divide each LED channel into zones that run their own animation at the same time. Tie zones into groups when you want them in sync.
Build animation sequences from firmware animations, or extend firmware with custom animations of your own. The zone IDs you name in Studio are the IDs you use from the API.
Studio before code
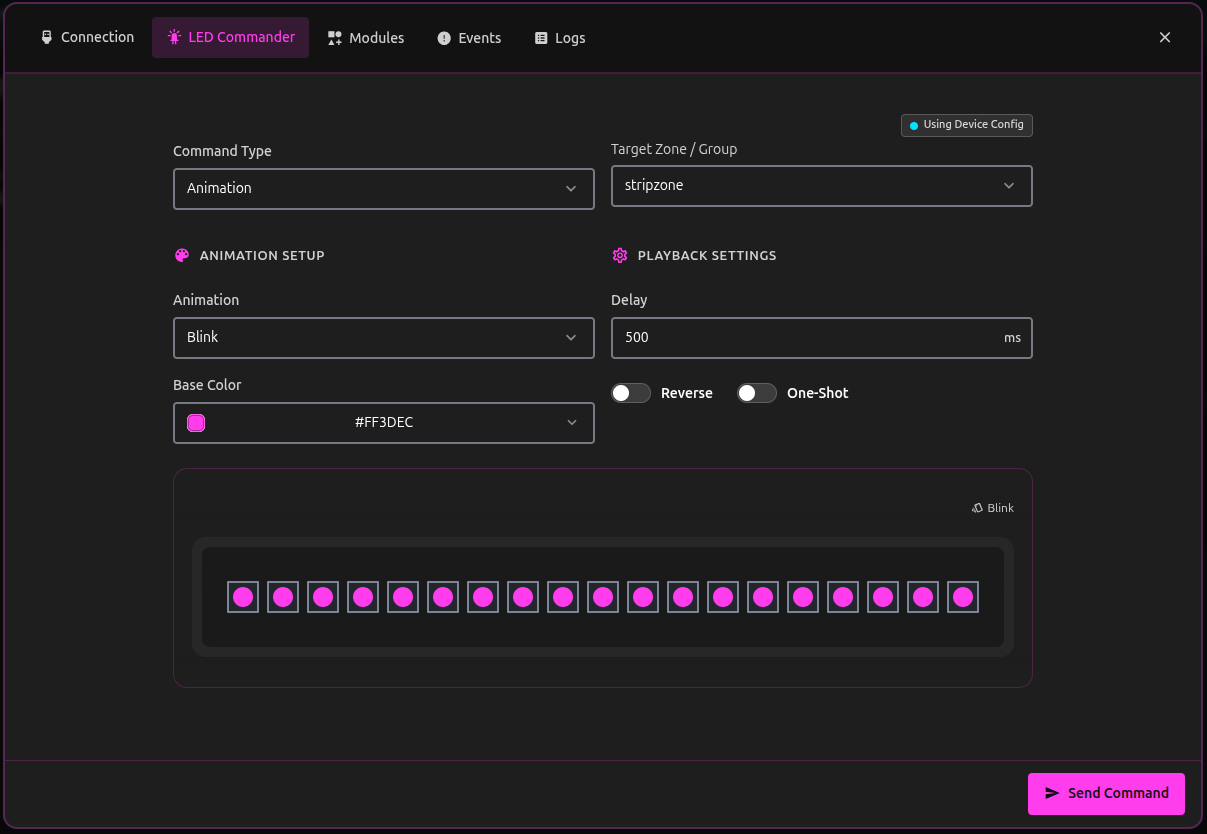
When ConnectorX is connected, Lumyn Studio reads the device configuration and fills LED Commander with the right command types and targets. Run animations, sequences, image sequences, LLA files, scrolling matrix text, or a solid color before you call the API from your project.
Test wiring, zone layout, and matrix content from the browser before opening an IDE.
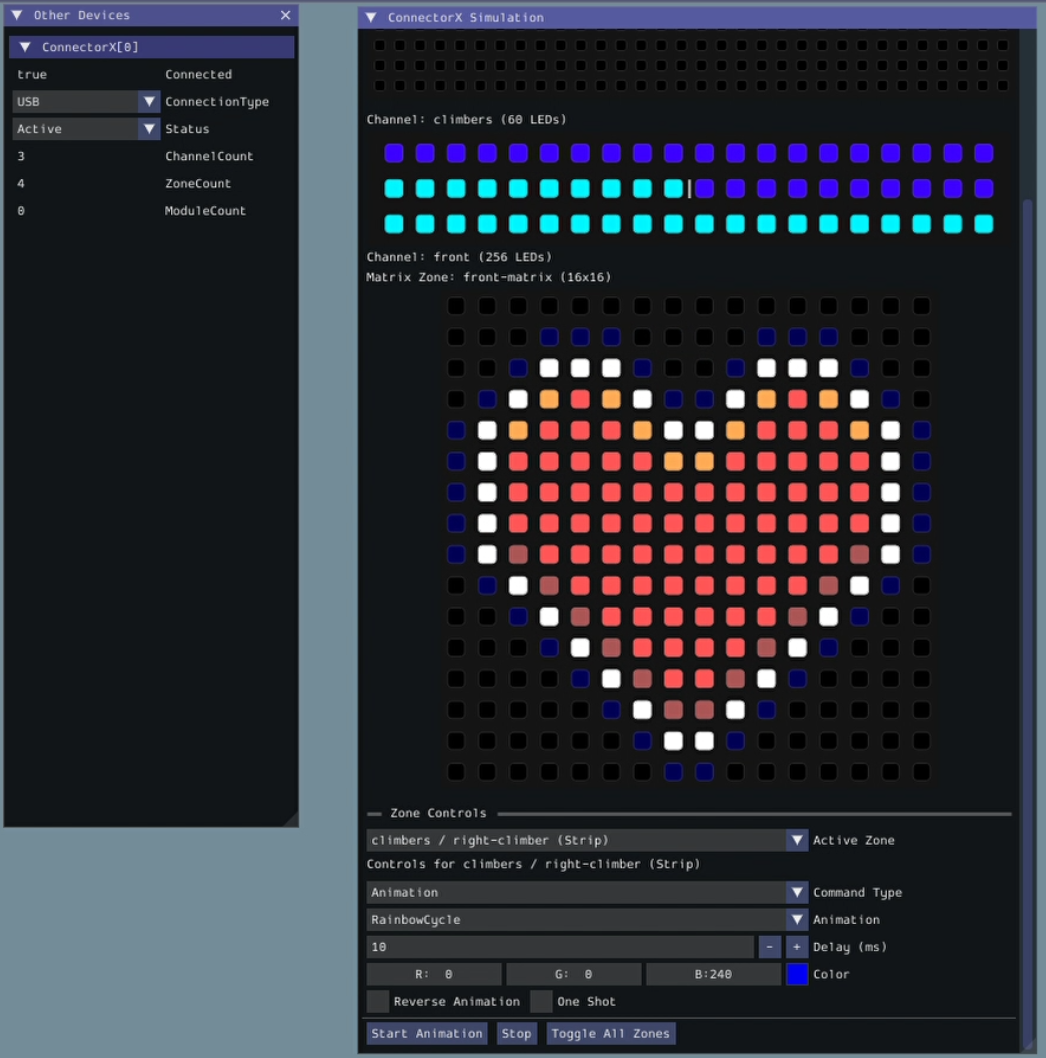
Test in WPILib simulation
The WPILib vendordep adds custom SimGUI tabs for ConnectorX. Teams can preview LED strips and matrices, inject module data, and test device connection states from a laptop before hardware is wired into the robot.
Specifications
- LED channels 4 independent channels
- Max LEDs 1,280 total (320 per channel)
- Regulator output 6,000 mA (5 V to LEDs)
- LED protocol WS2812B addressable
- Module support Up to 2 I2C modules (firmware 4.3+)
- Host connection USB (Studio, SDKs, WPILib)
- Configuration storage microSD (FAT32)
- Configurator Lumyn Studio (Chrome or Edge)
- API WPILib Java and C++ vendordep; Python, C, and C++ SDKs for off-robot hosts
Common questions
ConnectorX Animate or ConnectorX?
Choose ConnectorX Animate when you need four LED channels, matrix playback, or up to 1,280 LEDs. Choose ConnectorX when you need one LED channel plus the full module buses: I2C, SPI, UART, DIO, and analog.
Power
USB-C is enough for Lumyn Studio setup. For LED output, supply 12 V to the board. The onboard regulator supplies 5 V to connected WS2812B strips and matrices.
microSD card
A FAT32 microSD card is required. ConnectorX reads its configuration from the card at boot, so the board will not boot without one. Put config.json at the card root and copy any image-sequence folders from your Lumyn Studio export.
Setup without code
Use Lumyn Studio to create channels, zones, groups, animation sequences, and image sequences. LED Commander can run those animations directly from the browser while the device is connected over USB.
LED compatibility
ConnectorX Animate drives WS2812B strips and matrices. Wire DATA, +5 V, and GND from the board to the LED hardware. Size matrix zones in Studio to match the rows and columns on the physical panel.